Your Complete Change Vape Pod Guide
If you’re new to vaping or even a seasoned vaper, knowing how to change vape pods properly is essential. Changing your vape pod at the right time and in the right way ensures a better flavor, smoother hits, and prolongs your device’s life. This change vape pod guide will walk you through everything you need to know to replace your pods easily and correctly.
Changing your vape pod might seem straightforward, but skipping a few key steps can affect your device’s performance and even your vaping satisfaction. Whether you’re using a popular pod system or a less common model, this guide will give you clear instructions and tips to keep you vaping smoothly.
Why You Should Change Your Vape Pod
A vape pod contains the coil and the e-liquid reservoir, and both wear out over time. When the coil is old, the flavor becomes muted, and you may notice a burnt taste. The pod’s lifespan depends on how often you vape and the type of e-liquid used.
Changing the pod regularly helps you avoid dry hits and ensures that you enjoy your vape with the best flavor possible. This is why following the proper procedure to change vape pods matters.
When to Change Your Vape Pod
Signs Your Pod Needs Changing
You might wonder when it’s time to swap out your pod. Some signs include:
- A burnt or unpleasant taste during vaping
- Reduced vapor production or weak hits
- Leaking from the pod
- E-liquid flavor loss or muted taste
If you notice any of these, it’s time to replace your pod.
How Often Should You Change the Pod?
The frequency depends on usage. Heavy vapers might need to change pods every few days, while casual users can stretch it to one or two weeks. Always watch for the signs above.
Step-by-Step Change Vape Pod Guide
Changing your vape pod properly involves a few simple steps that prevent damage and ensure optimal performance.
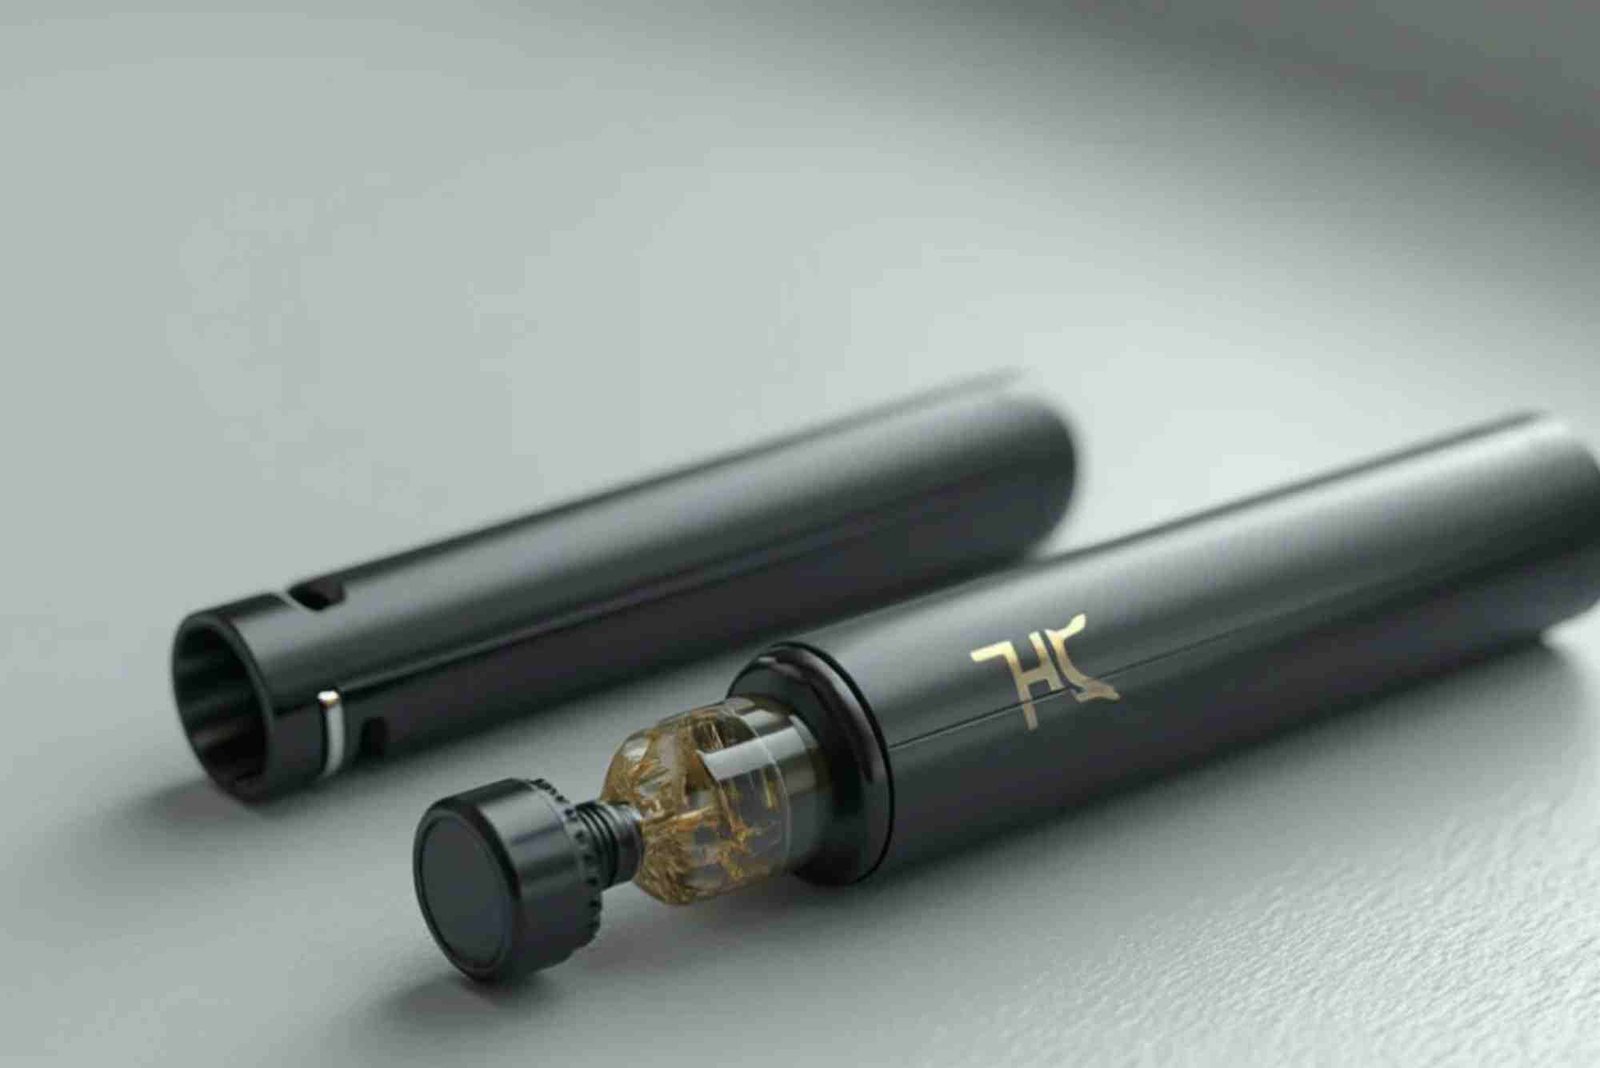
Prepare Your New Pod
Before removing your old pod, take the new one out of its packaging. If it’s refillable, fill it with your preferred e-liquid and let it sit for a few minutes. This process, called priming, helps the wick absorb the liquid and prevents dry hits.
Power Off Your Device
Safety first. Turn off your vape device to avoid accidental firing during pod removal.
Remove the Old Pod
Most pod systems have a simple pod removal method. Usually, you just pull the pod out gently. Avoid using excessive force, as this could damage the device.
Dispose of or Refill the Old Pod
If your pod is disposable, discard it properly. If it’s refillable and you want to reuse it, clean it thoroughly to avoid stale flavors.
Insert the New Pod
Align the new pod with the device’s connector and push it firmly into place. You should hear or feel a click indicating a secure fit.
Wait Before Vaping
Allow a few minutes for the e-liquid to saturate the coil inside the pod, especially if it’s your first fill. This prevents burning the coil prematurely.
Turn On and Test
Turn your device back on and take a few gentle puffs to ensure everything is working well. Adjust settings if your device supports it.
Tips for Maintaining Your Vape Pods
Taking care of your pods can extend their life and improve your vaping experience.
Avoid Chain Vaping
Taking many consecutive puffs can overheat the coil and cause the pod to burn out faster.
Use the Right E-Liquid
High VG (vegetable glycerin) liquids are thicker and may clog coils faster in some pod systems. Check your device’s recommendations for optimal e-liquid types.
Store Pods Properly
Keep spare pods in a cool, dry place. Heat and sunlight can damage the e-liquid and the pod material.
Clean Your Device Regularly
Even though pods are mostly self-contained, clean the pod connection area on your device regularly to ensure good contact and avoid connection issues.
Common Mistakes to Avoid When Changing Vape Pods
Not Priming the Coil
Skipping priming often results in burnt coils and poor flavor.
Using Damaged Pods
Check for cracks or leaks in pods before using them to avoid messy leaks or device damage.
Overfilling the Pod
Overfilling can cause leaks or flooding inside the device.
Forcing the Pod In or Out
Excessive force can break the device or pod connectors.
Frequently Asked Questions About Changing Vape Pods
How long does a vape pod last?
Typically, a pod lasts about 3 to 7 days, depending on your vaping habits and e-liquid used. Heavy users may need to change pods more often.
Can I reuse a disposable pod?
Disposable pods are designed for single use, but some vapers do refill them temporarily. However, it’s not recommended, as it can affect flavor and cause leaks.
How do I know if my pod is compatible with my device?
Always check the manufacturer’s guidelines. Using incompatible pods can damage your device or result in poor performance.
What should I do if my pod leaks?
Leaks often occur due to overfilling or damaged seals. Ensure you fill your pod correctly and check for cracks. If the problem persists, replace the pod.
Can I change the coil in a pod system?
Most pod systems have built-in coils inside the pod, so changing the coil means replacing the entire pod. Some advanced systems allow coil replacements, but they are less common.
Changing vape pods properly is crucial for enjoying your vaping experience and maintaining your device’s performance. By following this change vape pod guide, you can avoid common mistakes, extend your pod life, and keep your vapor flavorful and satisfying. Remember to watch for signs indicating it’s time to change and always prime your new pods before use.
Ready to upgrade your vape routine? Make sure to have spare pods on hand and follow the steps above every time you swap pods. This simple habit will keep you vaping smooth and happy for longer.
If you want to learn more about vape maintenance and tips, feel free to explore additional resources or check out trusted vaping forums. Happy vaping!